
(Photo credit and suitcase for sale HERE)
Hey there,
Just popping in to share a project with you!
Welcome to my DIY page!
I have been doing a TON of home decor projects
lately and I really should have been adding them
but its a lot to do the instructions for each so
I will be slowly adding the "after's" with the
instructions as soon as I can!
Ok so...
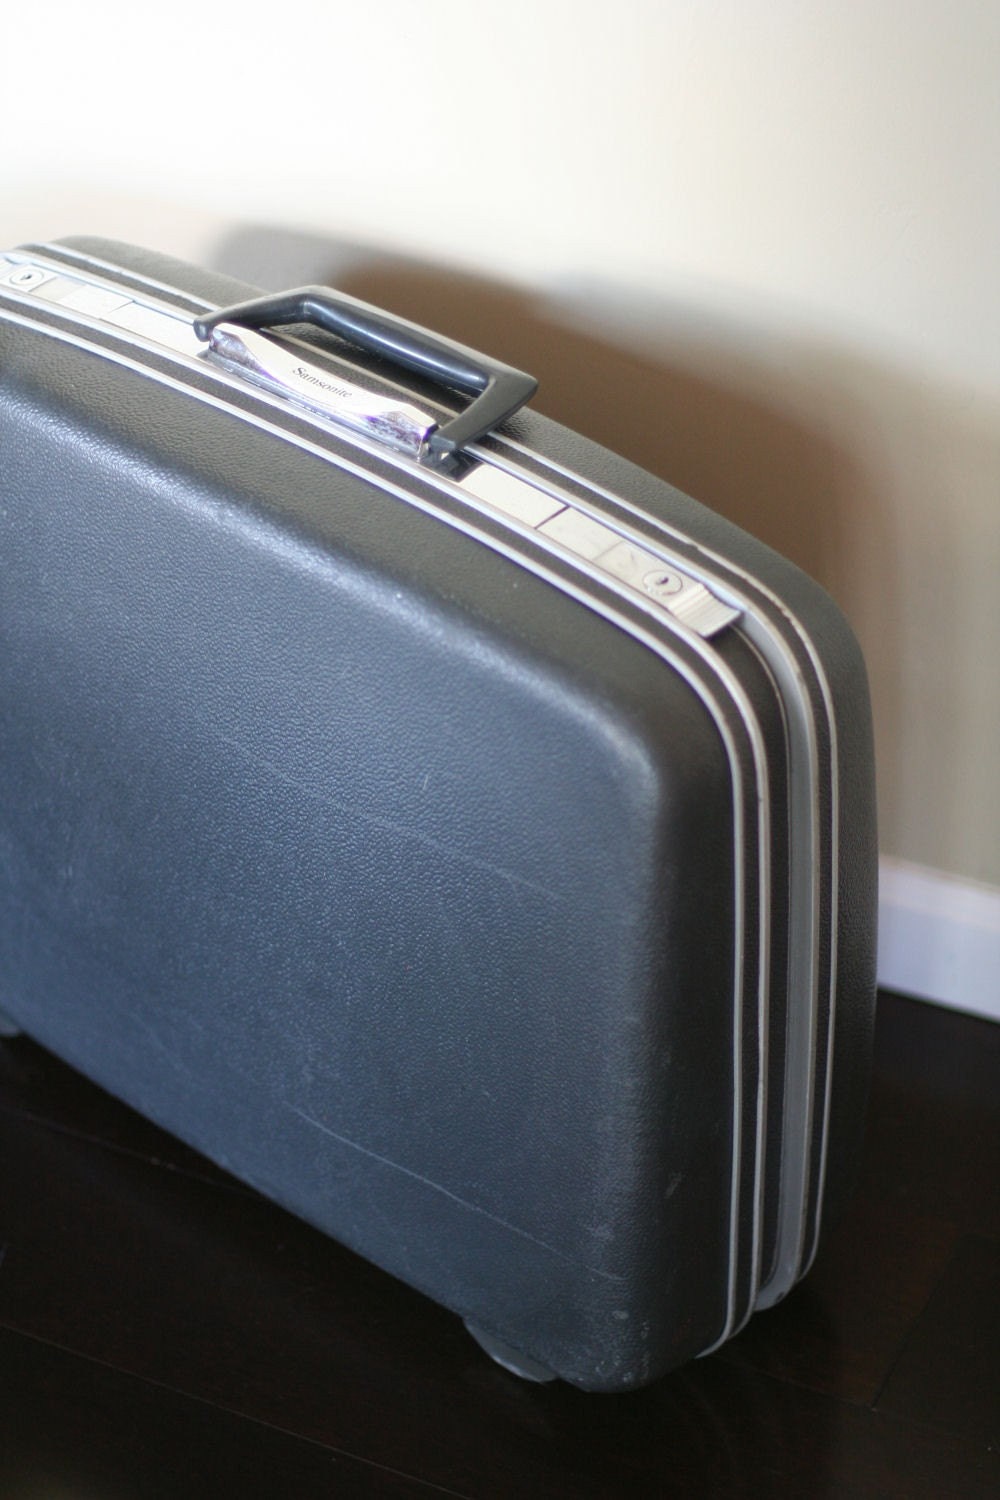
I bought a suitcase, just like the one for sale above,
at an estate sale for $1, can you believe it?
$1 for a vintage Samsonite suitcase!
But....
It was moved from room to room and finally put in our garage.
My intent when purchasing it was to make a dog bed out of it
but with other projects and my little ones elaborate b.d decorations
I was making, it was forgotten!
Well, while I was surfing Pinterest
for home decor ideas I spotted a photo of a similar suitcase
made into a chair so it just went from there!
I apologize now for the lack of "during" photos.
I am so bad about not taking before pics because
I am always inspired to get started.
(Please ignore the bad pics, didn't want to drag out the big cam
and I don't really have a place to shoot large items right now)
The fabric isn't as flashy as it looks in the photo,
the flash is making it look chrome but its a nice gray with a sheen.

So here's what I did:
- Taped off the metal and trim with painters tape and spray painted the suitcase white
- Bought legs from Home Depot and painted them gray
- Drilled holes for the legs, screwed them into the suitcase and used a nut on each to keep them tight
- Cut scraps of wood to fit the inside bottom of the suitcase to reinforce it.
- Pre-drilled holes through wood into legs and screwed it all together with some 2.5" screws
- Use a piece of painted trim to keep the back upright. (Screw through trim into inside of suitcase)
- Cut plywood or thick cardboard to fit inside the top and bottom and drilled holes for tufting
- Added padding on top of board, wrapped and stapled the fabric on the underside
- I used a large needle threaded with wire to make the tufts, start from underside go up through pad, add pearl wire looped button, go back down through pad to underside and leave about 8-10 inches of wire on both ends.
- When all tufts are done pull tight and twist wires to each other to hold tight.
- Add your pads to seat and back of suitcase and you are done!
Hope you liked my project!
Kim

I just ran across the DIY Project Party
and it looks super fun so I am going to link up :)

This is hilarious and awesome! Thanks for linking up with DIY under $5!
ReplyDeleteDid you come up with this idea, or see it somewhere? I LOVE it. Funky/kooky. It's just adorable!!!!!!!!!!
ReplyDelete